Image Compressor
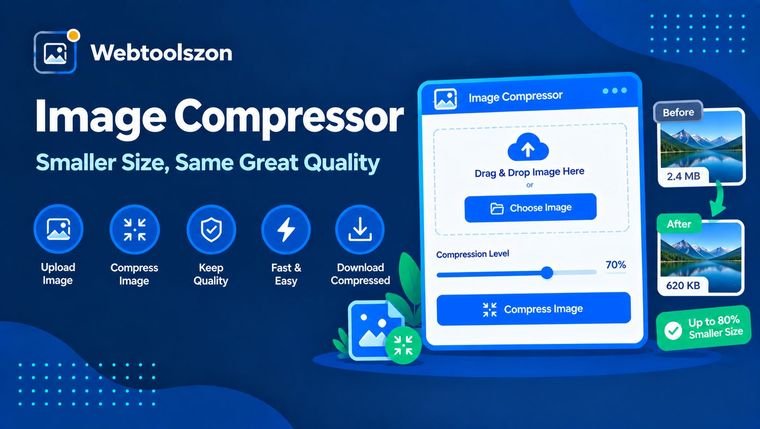
Upload a JPG, PNG or WEBP image and shrink its file size with an adjustable quality slider — see the before/after size instantly.
Your image
Drag & drop an image here
or browse your files — JPG, PNG, or WEBP
압축 설정
Drag the slider to trade size for quality.
Upload an image to see your savings.
리뷰
Everything you need to know about Image Compressor
How lossy compression works, which format to pick, and how to balance size against quality.
- Upload an image and drag the quality slider — the preview and file size update live.
- Everything runs locally in your browser — your image is never uploaded.
- Use WEBP if you need to keep transparency; JPEG fills it with white.
How to use Image Compressor
- Drag and drop or choose a JPG, PNG, or WEBP file.
- Drag the quality slider and watch the preview and file size update live.
- Download the compressed image as JPEG or WEBP once you're happy with the size and quality.
Why compress an image
Large image files slow down page loads, eat into storage quotas, and make uploads to forms or email attachments slower than they need to be. Most photos and screenshots carry far more data than is visible to the eye once compressed.
This tool re-encodes your image at an adjustable quality level entirely in your browser, so you can find the smallest file size that still looks good for your use case.
Choosing an output format
| Format | 다음에 가장 적합합니다 | Why it's worth checking |
|---|---|---|
| JPEG Widely compatible | Photos, general web use | Small file sizes and supported everywhere, but no transparency. |
| WEBP | Modern websites, transparent images | Usually smaller than JPEG at the same quality, and supports transparency. |
Image Compressor without uploading your file
Your image is read directly by JavaScript in your browser using the Canvas API — redrawn, re-encoded at your chosen quality, and shown back to you. It's never transmitted to a server, logged, or stored.
Because there's no upload involved, there's no server-side file-size cap; the only practical limit is how large an image your browser can comfortably load into memory.
Your image never leaves your device. Compression happens entirely client-side, with nothing logged or stored.
Need to resize before compressing? The Image Resizer tool can help you get the dimensions right first.
Choosing a quality setting
| Quality range | 다음에 가장 적합합니다 | 상충 관계 |
|---|---|---|
| 80–95% Good default | Photos you want to look sharp | Modest size reduction, but visually near-lossless. |
| 50–79% | Web images, thumbnails | Noticeably smaller files with only minor visible softness. |
| Below 50% | Maximum size savings | Visible blurring and blocky artifacts, especially on sharp edges and text. |
Start around 80% and watch the live preview — drag the slider down only until you start to notice quality loss that matters for your use case.
What people use Image Compressor for
- Website performanceShrinking images to speed up page load times.
- Email attachmentsFitting photos under an email provider's size limit.
- Form uploadsMeeting an upload size cap for a job application or online form.
- Storage savingsFreeing up space on a device or cloud drive with a strict quota.
- Social & messagingGetting images small enough to send quickly over a slow connection.
How This Tool Works
Your image is redrawn onto an HTML canvas and re-encoded at your chosen quality using the browser's built-in JPEG/WEBP encoder — all live in your browser via JavaScript, with nothing uploaded, stored, or logged.
Last updated: September 14, 2026.
Was this guide helpful?
도구 상자 속의 더 많은 도구들
Fourteen more free, no-API-key tools live on the homepage.